Multi-Factor Authentication - a guide for Administrators
MFA settings for your Organisation. Multi-Factor Authentication is now mandatory for all customers (excluding SSO users), providing an extra layer of security for users accessing the Governance and R…

MFA settings for your Organisation
Multi-Factor Authentication is now mandatory for all customers (excluding SSO users), providing an extra layer of security for users accessing the Governance and Risk platform.
The MFA Administration tool gives organisations the ability to manage Multi Factor Authentication for their own users.
System Administrators can go to Menu > Administration > Multi-Factor Authentication to choose the options they’d like to apply for the Organisation.
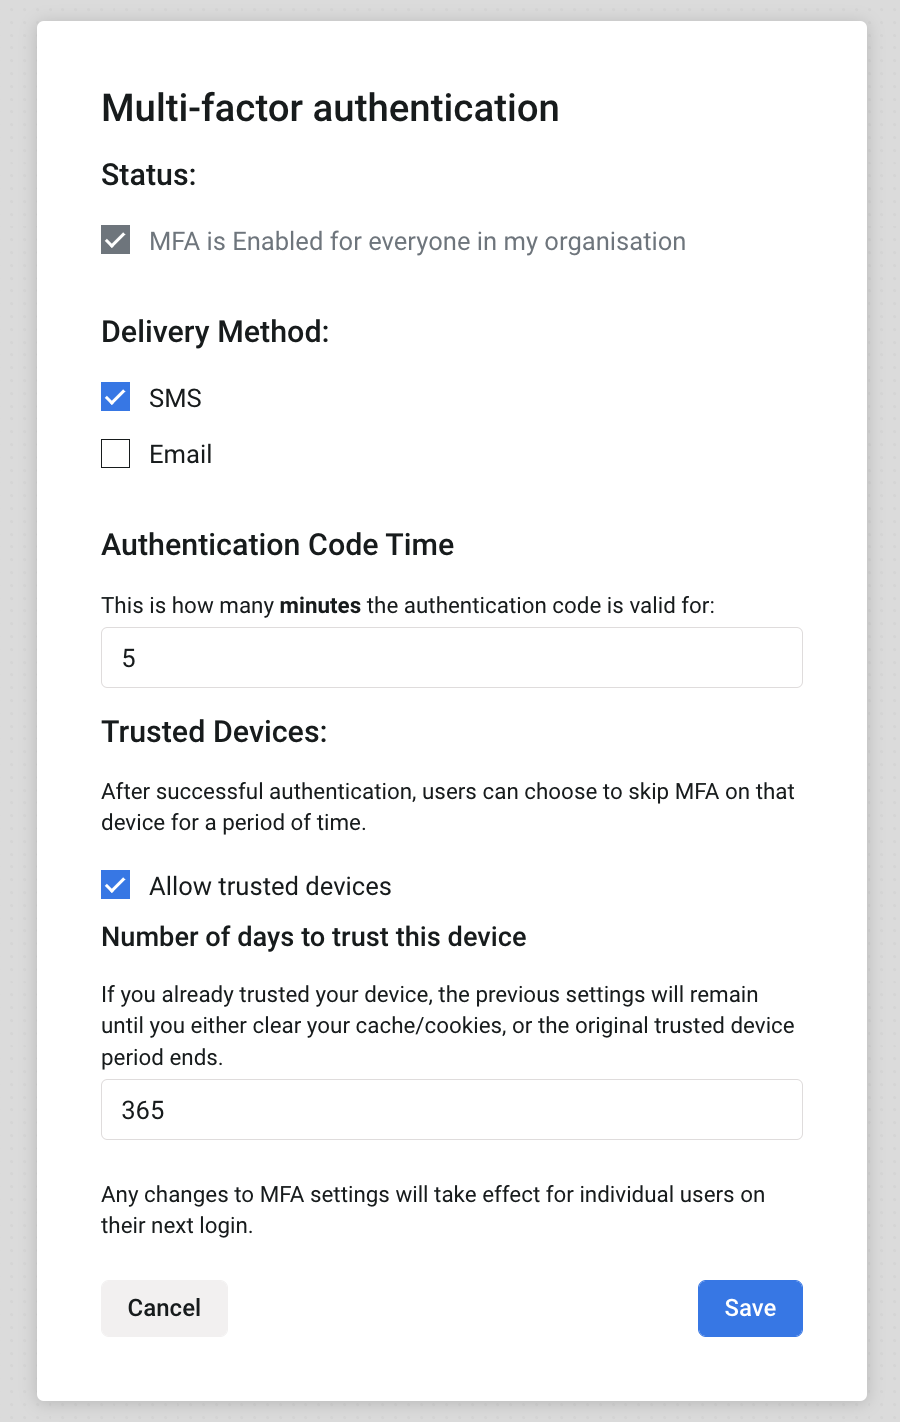
The options explained:
Authentication Code Time
In this section, you can change the amount of time the MFA codes will be valid for. The default is 5 minutes, but you can increase the period to a maximum of 20 minutes or reduce to a minimum of 1 minute. This might be useful if you occasionally experience delays with SMS (text message) or email messages coming through from your provider.
Delivery Method
In this section, you can define the default method by which your users receive their Multi-Factor Authentication codes. The options are via SMS (text message) and email. Both options can be selected, and we recommend that you that you always allow SMS, as this is the preferred and more secure delivery method.
• SMS - Users will receive a 6 digit code via SMS to their mobile.
• Email - Users will receive a 6 digit code via email.
Trusted Devices
This checkbox allows you to define whether you are happy for your users to ‘trust’ the device and browser they’re using, for example, if they typically log in via their laptop each time they access the platform. You can specify the trust period (in days) and this means the user will not need to complete MFA again for that period when logging in on that device.
Note: Please remember to click Save to apply your preferred MFA options.
Your Users' experience
Now that Multi-Factor Authentication has been enabled for your Organisation, your users will encounter the setup screens when they next access the platform. They will be prompted to select a method to start receiving verification codes by. If you have enabled both SMS & email, SMS (the default method) will display first, and the email option smaller, underneath.
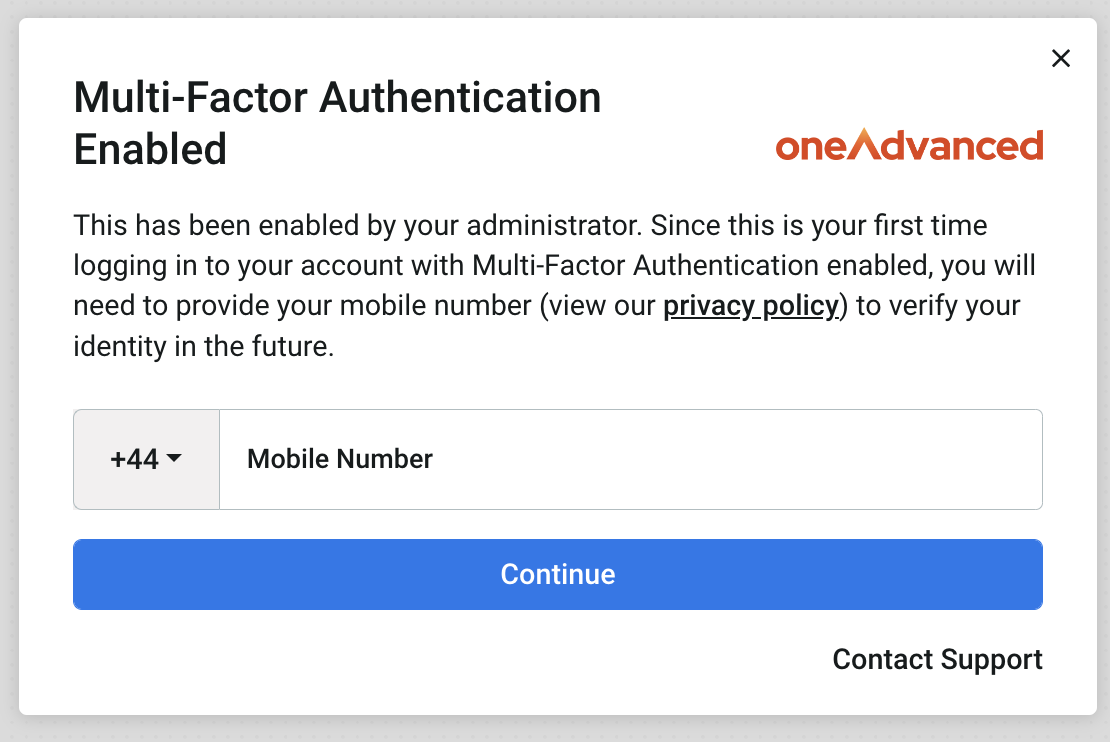
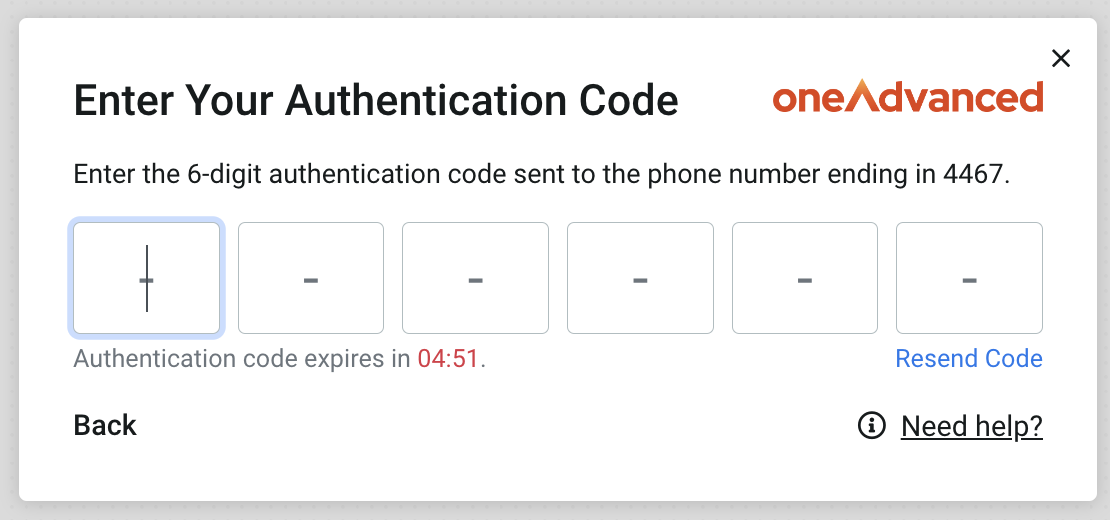
Once the user enters their mobile number and clicks Continue, they will be prompted to confirm it via an authentication code sent to that number.
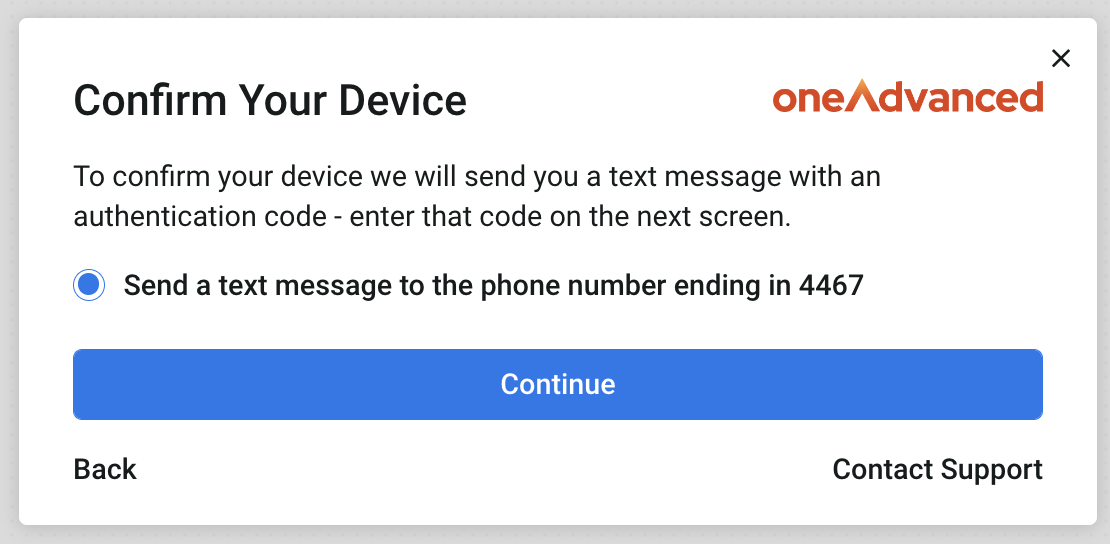
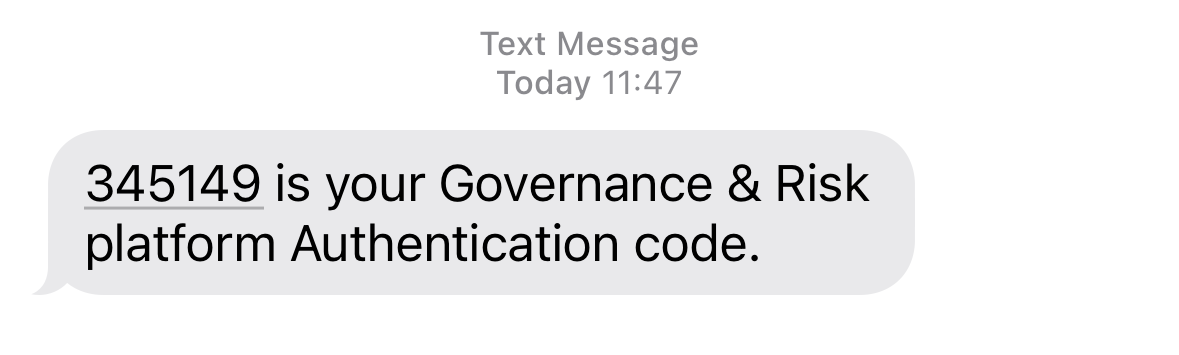
The Authentication code can now be entered in this screen:
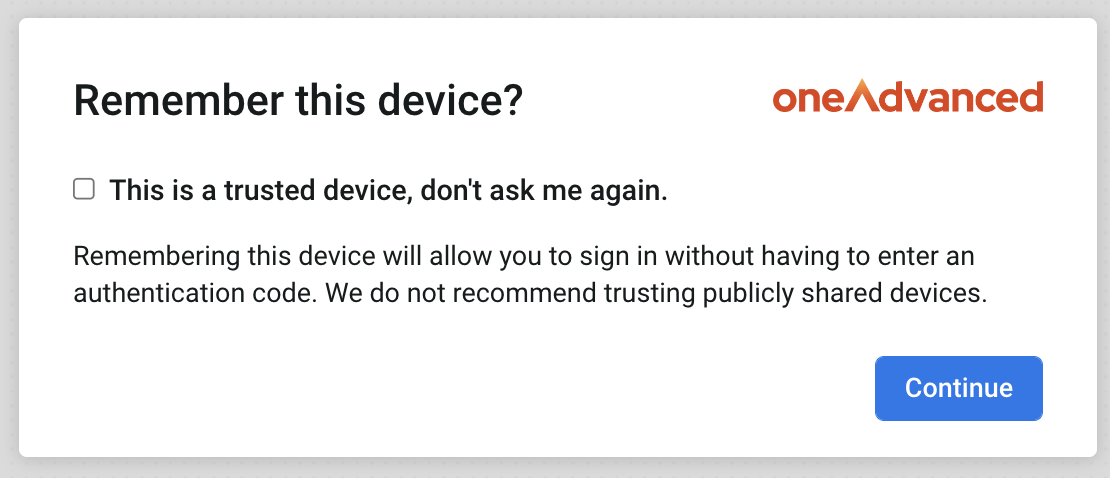
If the ‘Trusted Device’ option has been enabled, users will be able to choose whether to mark their current device as trusted (this means that next time they log in, the MFA step will not need to be completed).
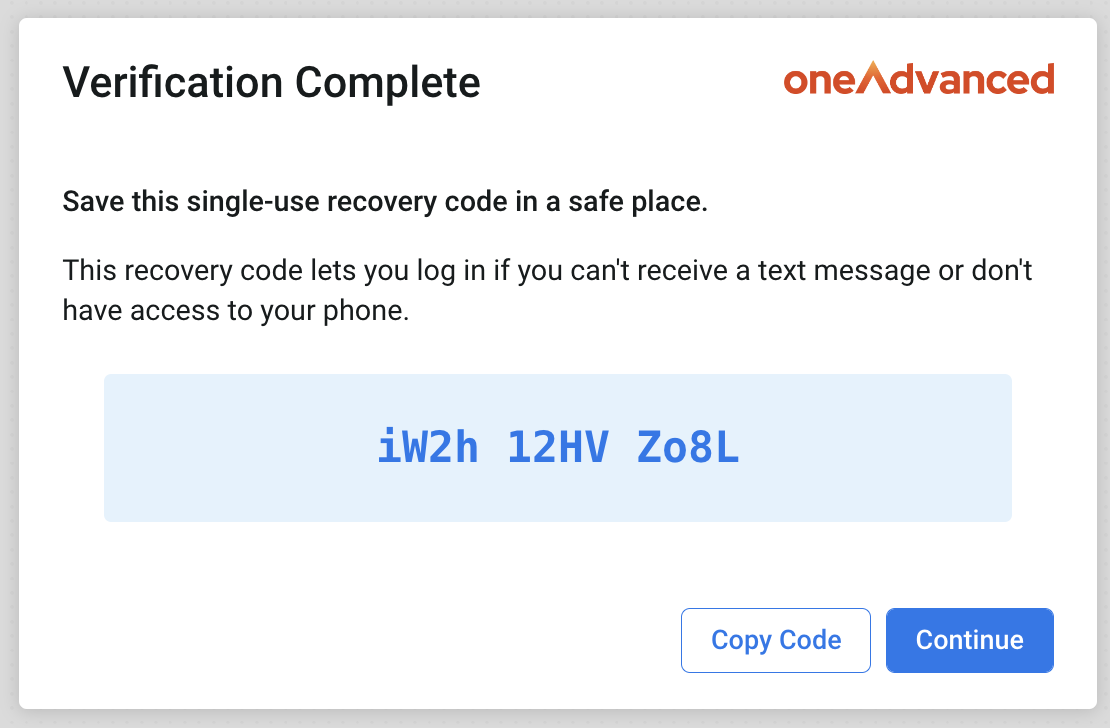
In the next screen, users will have the opportunity to note a recovery code, should there ever be an occasion where MFA codes aren’t coming through via, or they lose access to, email and/or SMS. We recommend users copy this code then store it in a safe and secure location.
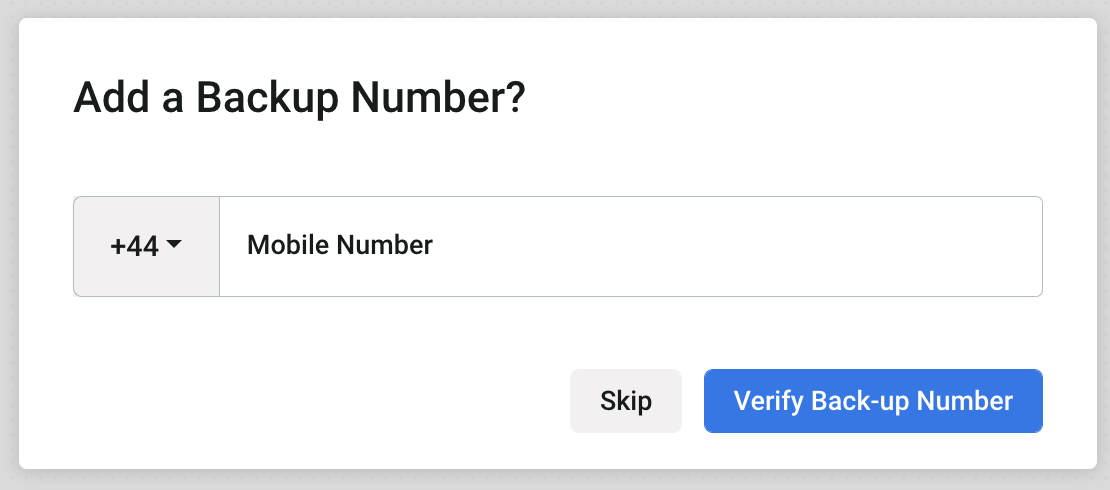
Users can enter a backup number at this point, or this can be done later via My Account. Should they lose access to their Email or primary mobile number, they will be able to login by generating a code to the backup number.
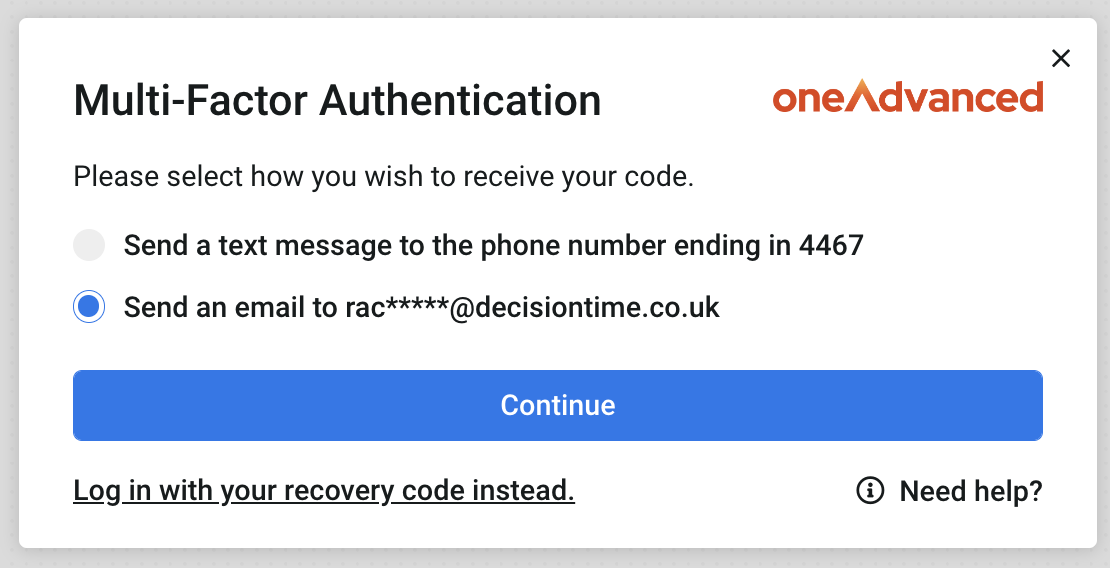
Once the initial setup options have been selected, users will encounter the main MFA screen upon subsequent logins to the platform. For example, if both SMS and email have been activated, they can choose which medium they want to receive their authentication code by. In this example, the user can choose to receive the code via email instead.
There will be an option to send the authentication code to the email address configured during the setup stages; click Continue to generate the code:
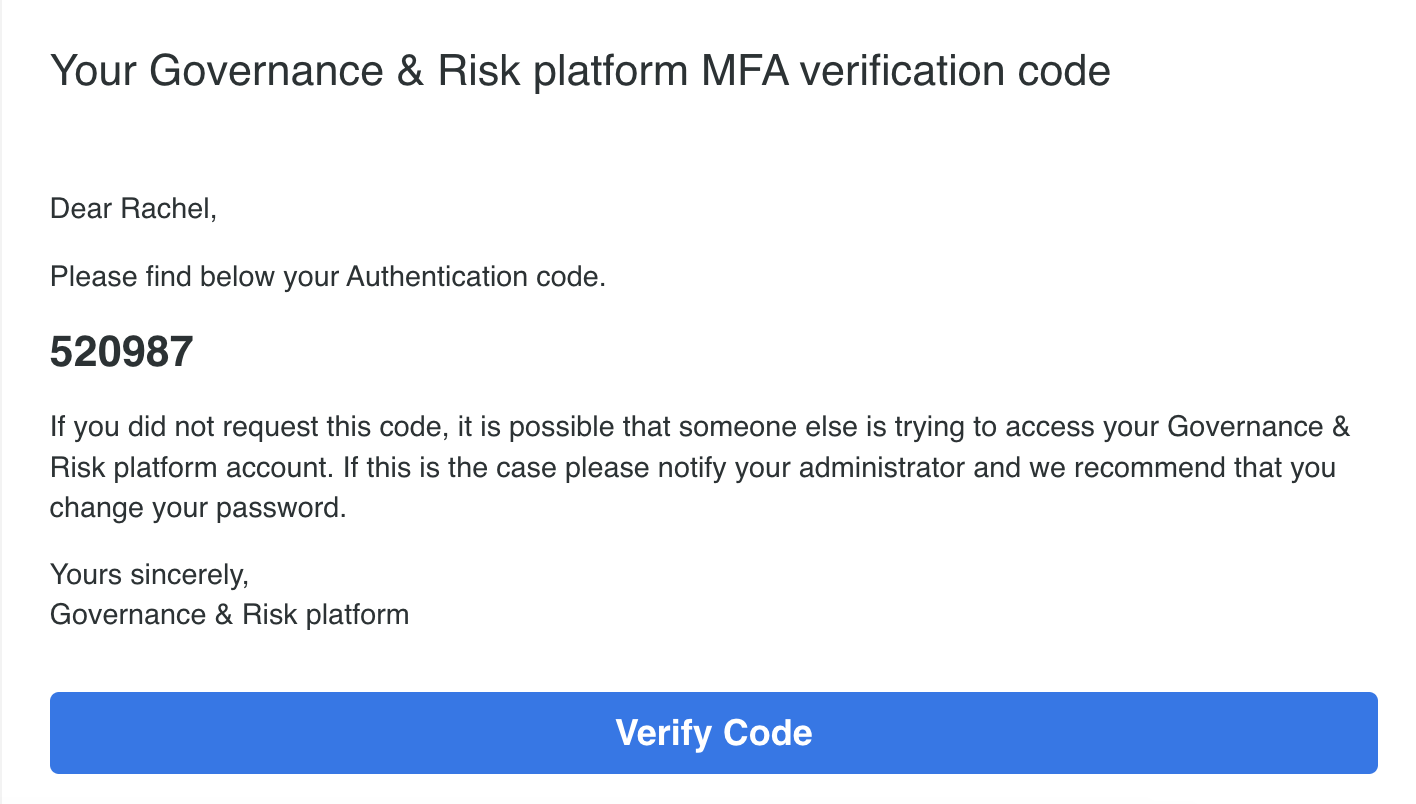
The code received in the email is then entered to the Authentication Code boxes, in the same way as SMS generated codes.
Users will receive a system-generated email notification when their MFA has been set up or when any changes to their existing settings have been made.
Changes your Users can make
In the My Account screen, users have the ability to update their Multi-Factor Authentication preferences, in keeping with the organisation-wide settings.
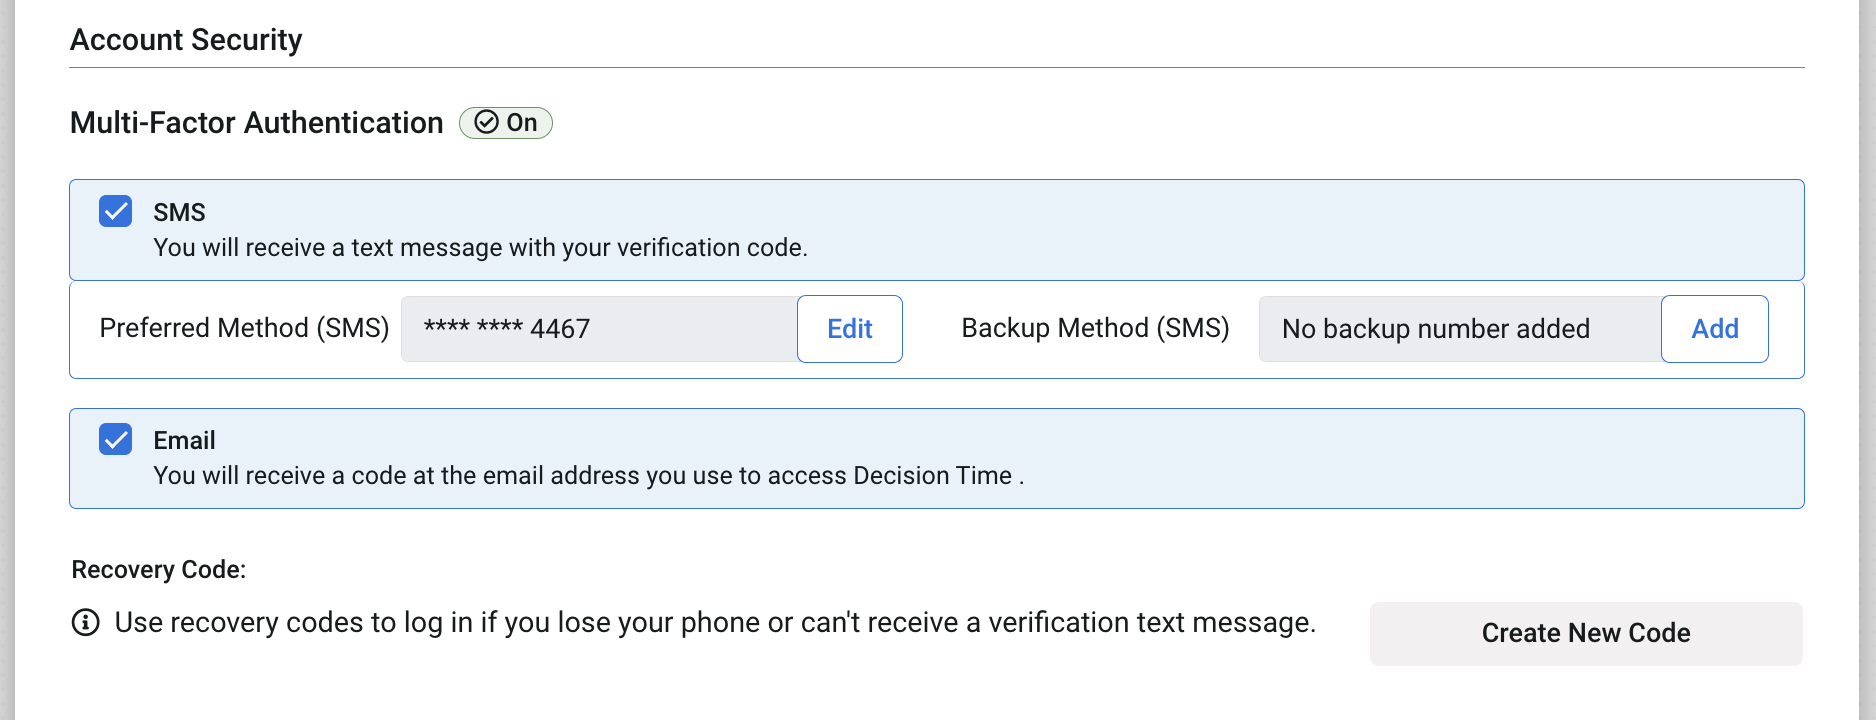
A backup mobile number can be added or updated here, and a new Recovery code can be generated, if the user has used or lost the one generated during their MFA setup.
Changes an Administrator can make
Administrators now have more flexibility in the Multi-Factor Authentication settings they can apply for individual users. This can be done by navigating to Menu > Administration > Users and clicking into the user’s profile.
Under the Security section, you’ll find the Organisation-wide settings you have applied. You can change this on an individual user basis, for example deactivating the email option, should you wish this User only receives Authentication codes through to their mobile.

Remember, if you are making changes in this screen, you’ll need to click Save Changes at the bottom of the page, to apply these for your user.
Troubleshooting
User not receiving their code via SMS?
Sometimes mobile carrier issues can mean there's a delay in text messages getting through. If this ever happens and your user isn't receiving codes as expected, you can:
- ask them to select a different method (if they have the email option instead)
- ask them to use the one-time rescue code (if they saved this during setup)
- send the user an MFA rescue code via Menu > Administration > Users, then clicking into their profile to access that option
Once they have access to their account again, they should go to My Account and check their MFA details.
Forgot to save the one-time rescue code or need a new one?
In My Account, users can generate a new rescue code, if they have used it, or if they didn't save/have misplaced the original generated during setup.
Was this article useful?
User Management for Organisations using SSO
User Roles explained